
If you’ve ever come across a curriculum that was almost right for your family but you wished you could tweak it just a little bit, I think you’re going to love this custom spreadsheet I’ve created. I want moms to be able to use the STAR reading schedules–or whatever books they like–to make their own 28-week homeschool schedule. Want to learn how? Here you go!
Homeschool planning shouldn’t be stressful, overwhelming or complicated.
I’ve created the STAR reading plans with families like yours in mind. The reading plans follow four cycles of history, science, enrichment, and so many other subjects. All children in the family will be following the same timeline, the same artist, composer, poet, habits, life skills, and other subjects.
Under each topic and each form, I’ve included reading schedules for many different resources, so that you have options to choose books that suit your family best. My hope was that you would be able to find a read aloud book in each subject, and also books for independent reading for your children who can read.
Originally, I only published spreadsheets with all of the potential readings included. This made for pretty large spreadsheets, sometimes with twenty-five or more titles. To avoid overwhelming mamas with all of the options, I decided to make spreadsheets with one book per spreadsheet.
This has helped a lot of people, but overwhelmed others–who have told me that they liked the long spreadsheets with all of the resources. Because of that, I’ve decided to start including both: the long spreadsheet with all of the resources listed, by subject and form (for example, a long spreadsheet full of every single science & nature book for the cycle, sorted by form, and then a history spreadsheet, etc.) and also, the spreadsheets with a single book on them.
Custom Family Guides
When I started STAR Homeschool Community (the homeschool community I launched in Lynchburg, VA), I offered the opportunity for each family to get a “Custom Family Guide” that I created. It was a lot of work to make these guides, and I learned that it was not a sustainable solution. So, what I’ve decided to do is teach you how to make your very own spreadsheet that works best for your family!
Here’s how to do it! Click on the downloadable, editable spreadsheet.
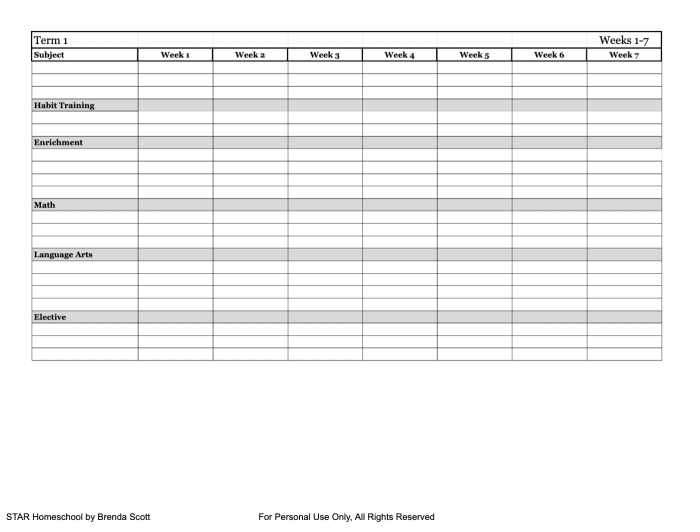
How to Customize the Spreadsheet to Make Your Own Guide
Here’s what you’re going to do:
Open the editable master sheet for the subject that you’d like to schedule first.
Select the line that you’d like to copy and add to your customizable schedule.


Click “copy” like this:

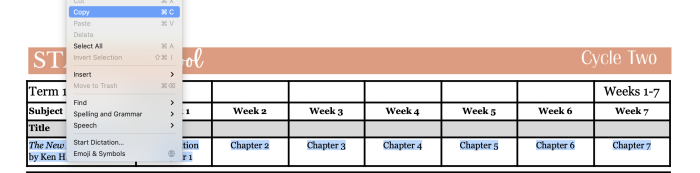
Make sure you have only selected a single line, and not anything above or below it.
Now, head over to the copy of the Custom Guide spreadsheet that you have made. Make sure you are on the tab of the same Term as the spreadsheet you copied from. You can select the term at the bottom of the spreadsheet.


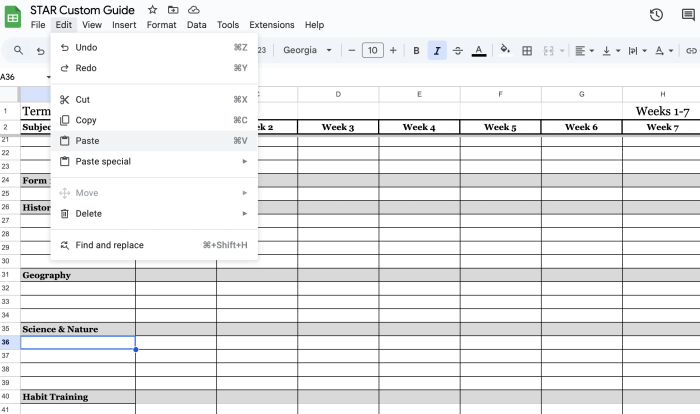
Now, click the cell under the topic you’d like to place the selected title under. Click on the first left cell under that topic, like this:
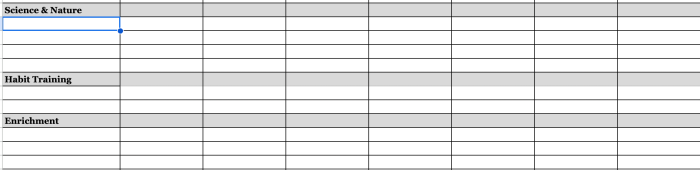

And now, click “paste”:

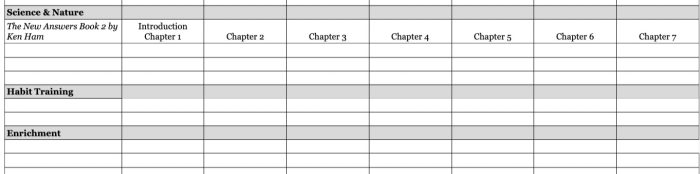
The contents of the downloaded spreadsheet should appear on your custom spreadsheet, like this:

Keep Going & Create a Completely Customized Guide!
Continue with the same book in Terms 2, 3 and 4. Make sure you paste the content from Term 2 into the spreadsheet tab that says “Term 2,” and so on. You can copy and paste as many books as you like! When you’re finished making a guide for the books you would like to read aloud, make another copy of the spreadsheet and make a guide for each of your children who are able to read independently. Print these guides and use them as your check off list for the week.
Some Tips
Adding Rows
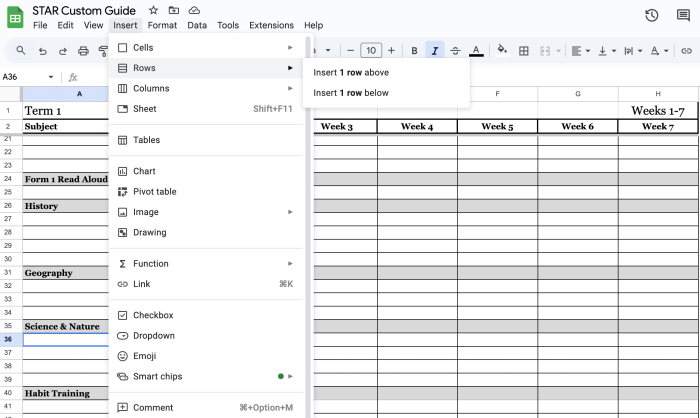
To add a row, you will want to select the whole line above where you want to add a row.

Go to the top menu, to “Insert” and click “Rows” and then “Insert 1 row below” or “Insert 1 row above” if you’d rather add a row above the line you have selected.

There shouldn’t be any reason to add an extra column to this spreadsheet. The STAR terms are 7 weeks long, and there are 4 terms per year.
Deleting Rows
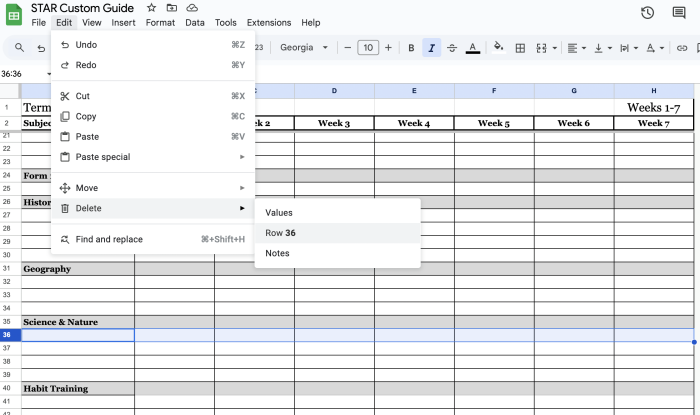
To delete a row, you will want to select the row again, like this:


Then, go to the top menu and click “Edit,” and then “Delete,” and click on the line that says “Delete Row __” (whichever row you have selected), like this:
Adding Other Resources
You can add any resources you like to this spreadsheet. Maybe I haven’t scheduled a book you want to cover with your kids–no problem, just add it to your own custom spreadsheet. Make sure to comment on this site to let me know which books you’re using!